
CE Automated Deployer
!Deploy Nutanix CE. Drink beer instead.
!Deploy Nutanix CE. Drink beer instead.
Stop clicking through the CE wizard by hand. Generate one small bootable ISO, boot it, and let it build, configure and brand the entire cluster on its own - AHV, the CVM, disks, network, storage, NTP, even Prism Central.
One small Windows app runs a local webserver that hosts the CE ISO, a generated answer file (arizona.json) and a firstboot script, and drives the whole install from boot - AHV, the CVM, Prism Element and optionally Prism Central - to a ready-to-use cluster.
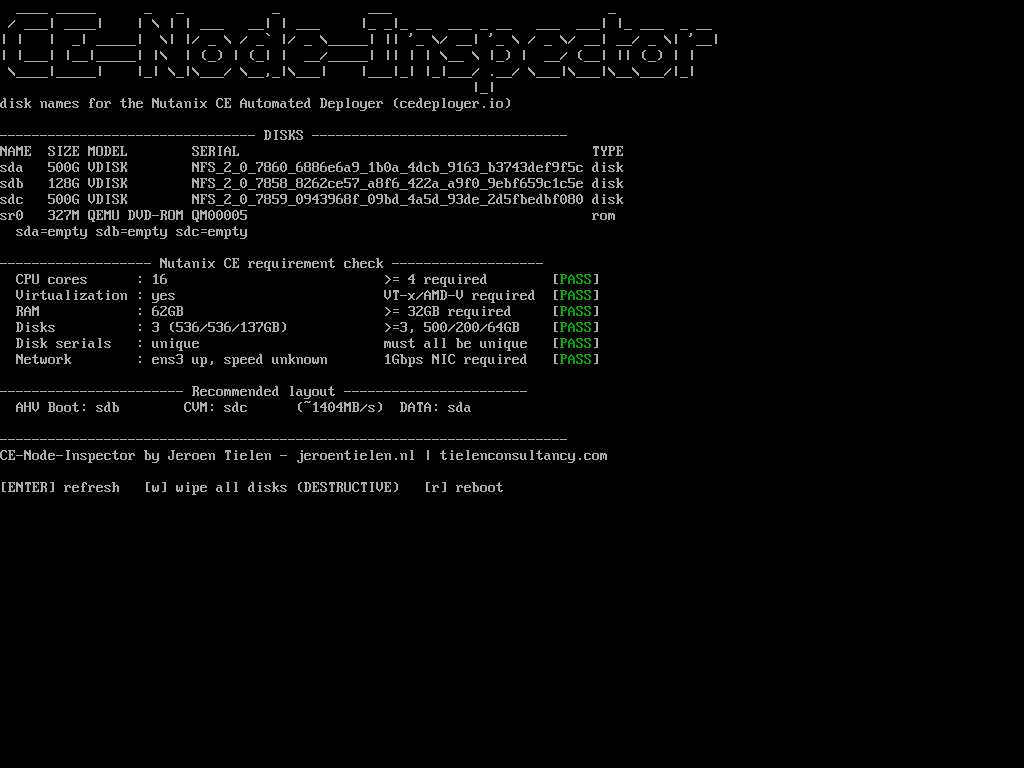
A standalone bootable ISO you run on a node before deploying CE on it - checks CPU, RAM, disks, virtualization support and NIC speed against CE's requirements, and shows the exact disk layout to use (sda, sdb, nvme0n1, ...) directly on screen.
No wizard, no keyboard needed at the target machine. Boot the generated ISO and walk away - Phoenix images AHV and the CVM, then cluster creation, storage, NTP and networking configure themselves.
The generated ISO boots correctly whether you attach it as virtual media, write it to a USB stick, or mount it in a VM - real dual El Torito boot support.
Optionally deploys Prism Central automatically, registers it to the Prism Element cluster, and enables Intelligent Operations and Pulse - no extra steps.
Built-in update mechanism keeps the app current without ever touching your existing configuration or previously generated installs.
Flip a switch to watch an installation's progress in real time - which step it's on, straight from the target's own logs - and it turns itself off again once the install finishes.
From an empty form to a running cluster, in four steps.
Upload the official Nutanix CE ISO you download yourself - it's extracted once and reused for every install.
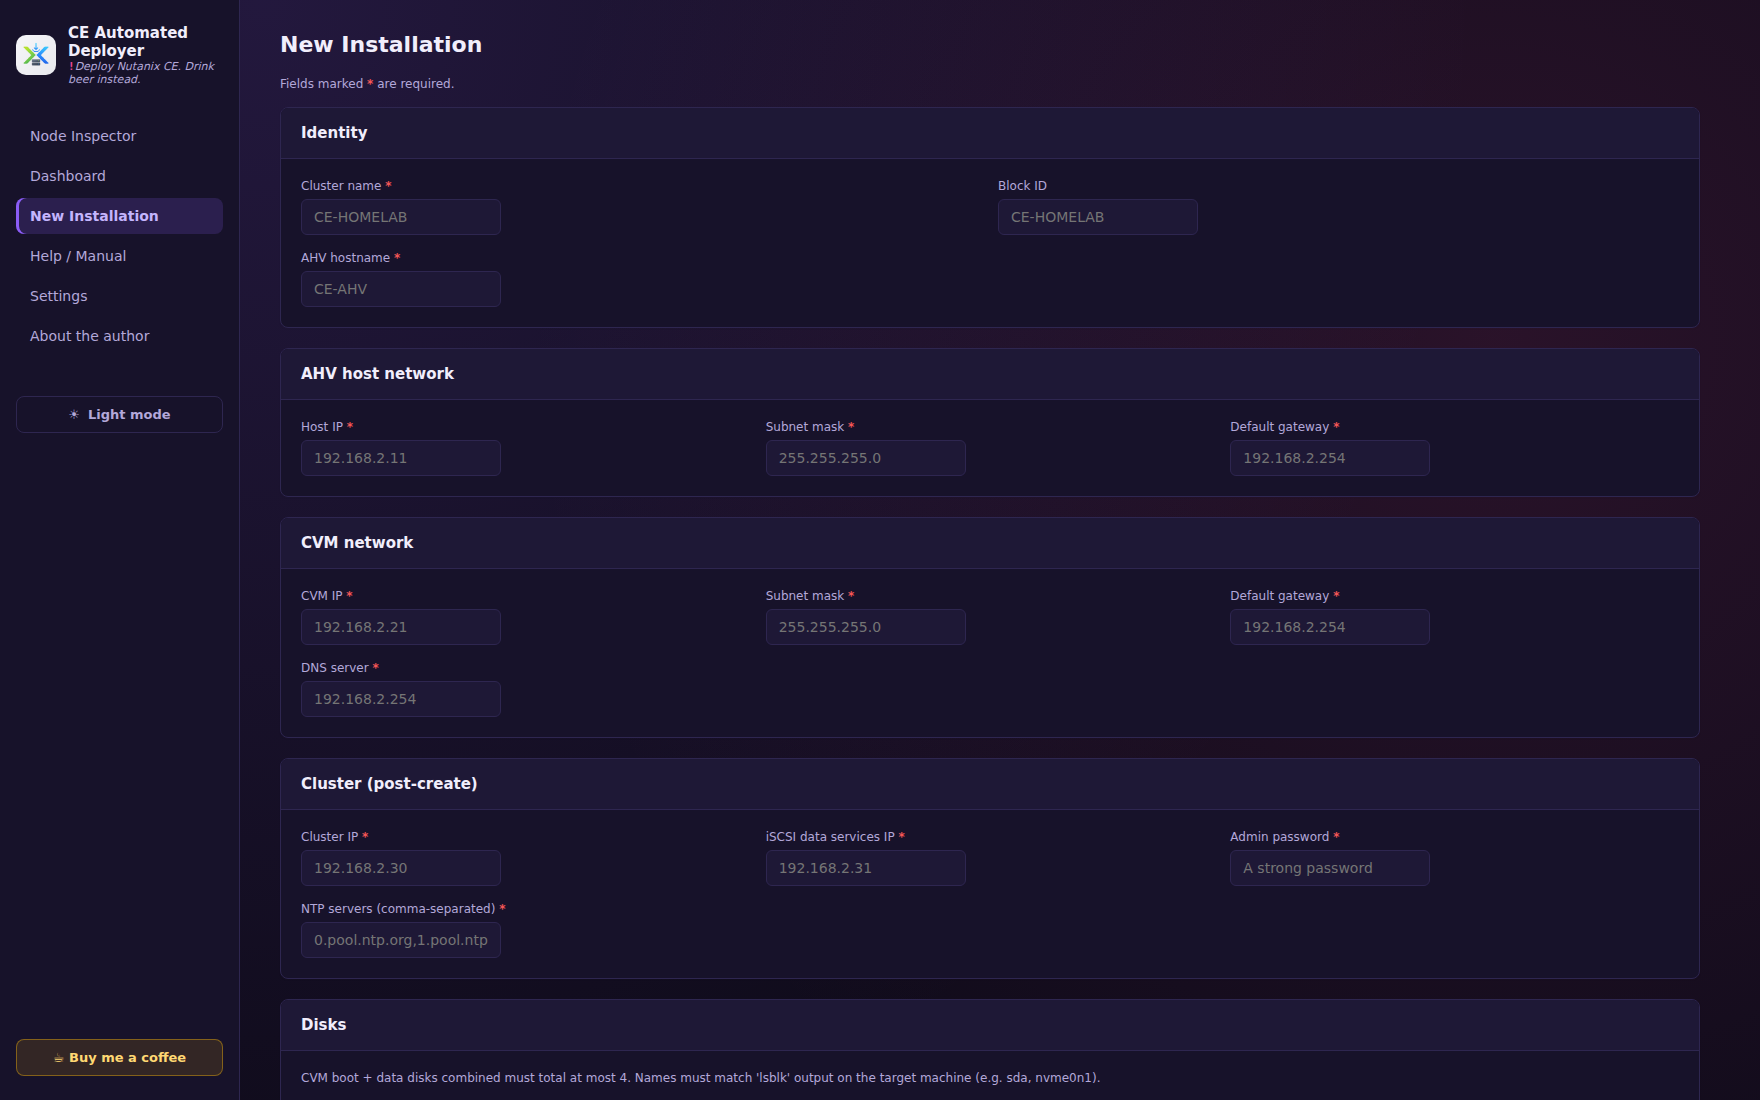
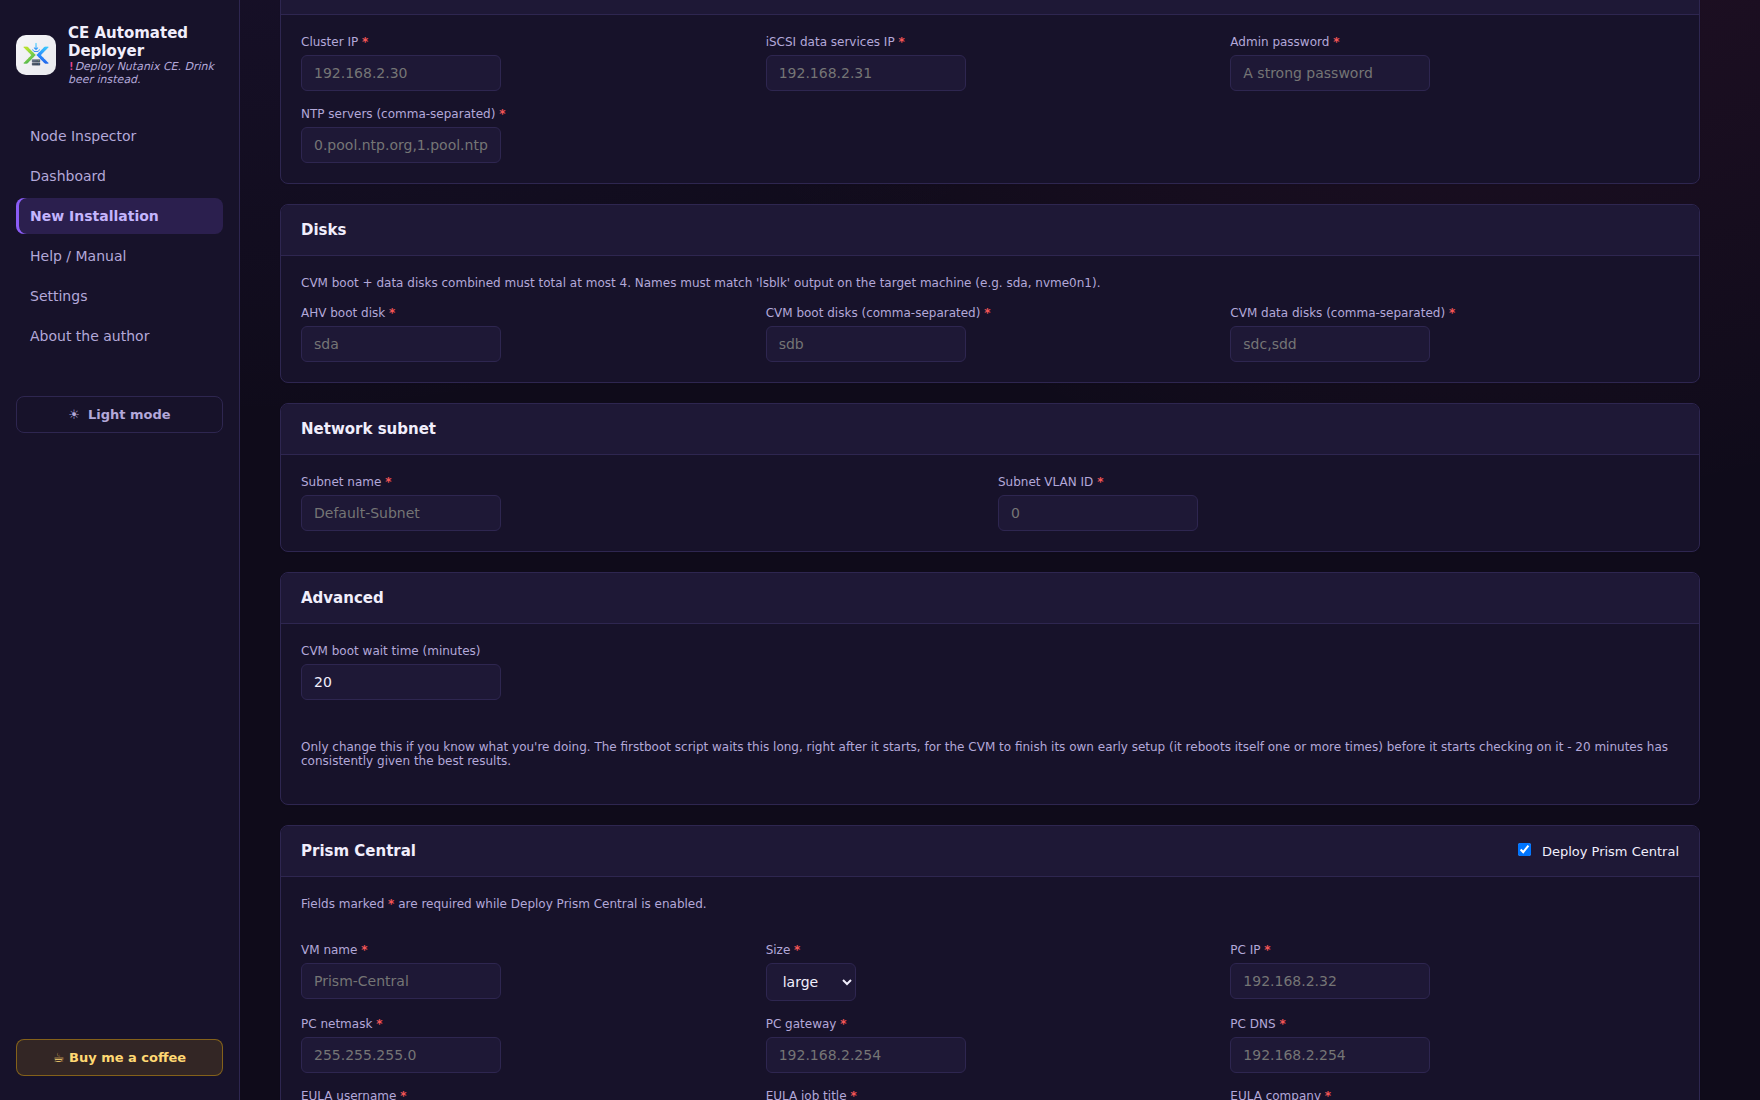
Cluster name, AHV and CVM network details, disk names and (optionally) Prism Central - all in one page. It becomes the answer file (arizona.json) that Phoenix and the firstboot script read automatically.
Attach it as virtual media or write it to a USB stick, on the target machine.
Phoenix images the disks, the CVM boots and the Prism Element cluster gets created, and every post-create step runs automatically until it's ready to use.
Two videos: downloading and setting it up, then a full unattended install start to finish.
Every step above, start to finish - including a real Node Inspector check and a real Community Edition install.
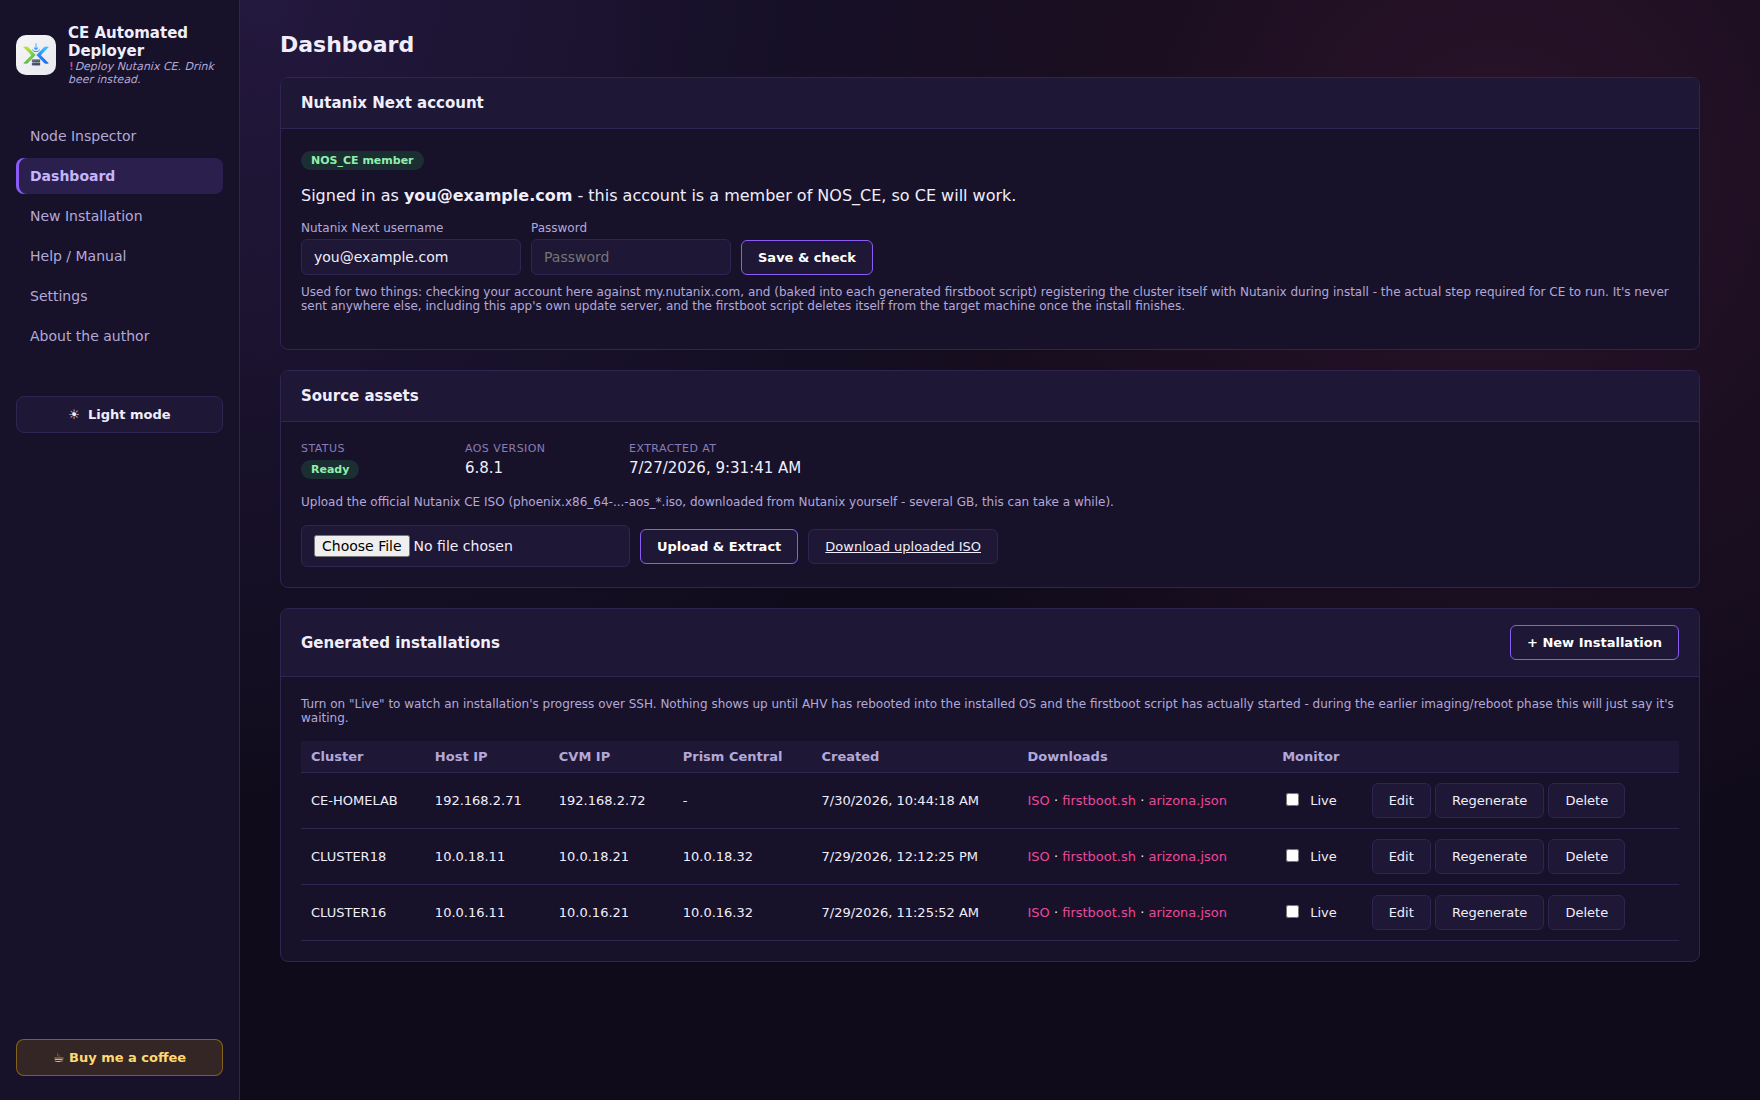
The whole app in one page - from source ISO to a ready-to-boot generated install.
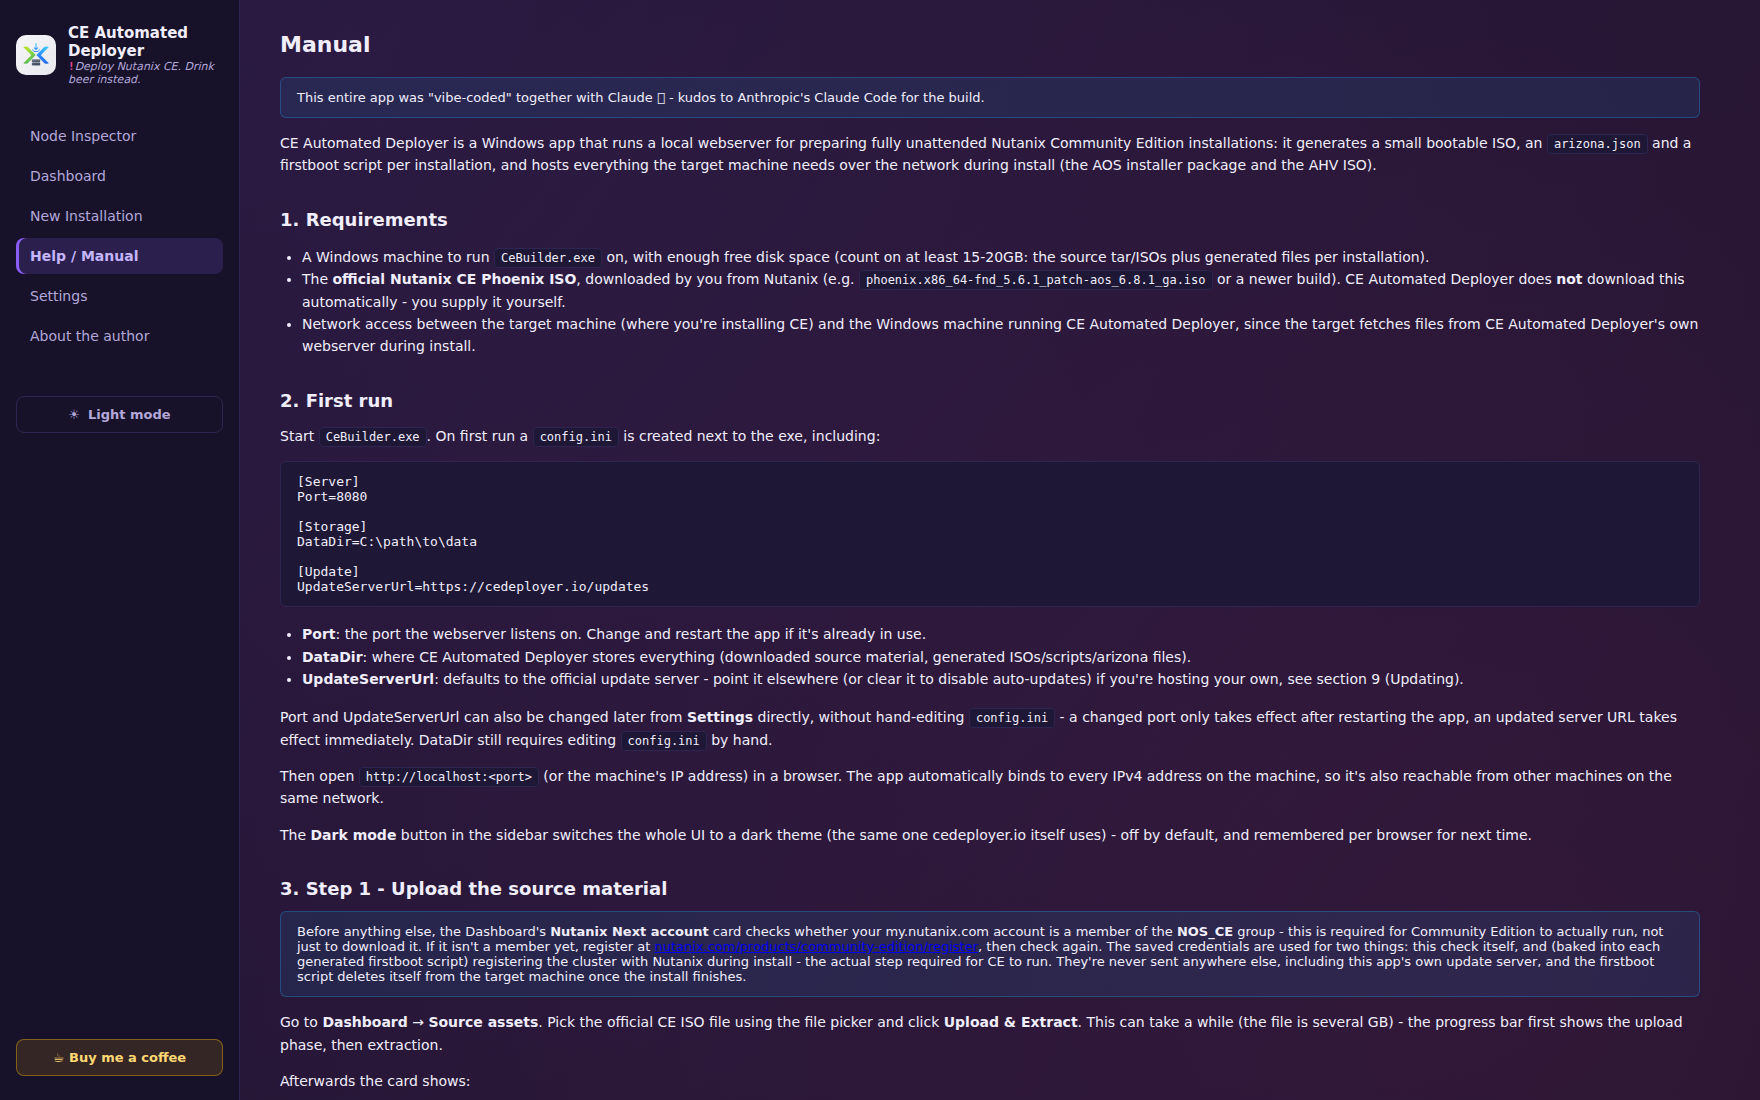
Downloaded by you directly from Nutanix - this app doesn't bundle or redistribute it, you supply your own.
A my.nutanix.com account in the NOS_CE group is required for Community Edition to run at all, not just to download it - free to register if you don't have one yet.
To run the app itself - it hosts a small local webserver the target machine talks to during install.
Leave your email and we'll send you a link right away. The link stays valid for 3 hours.
Bug reports, feature ideas, or just how it went for you - all welcome.
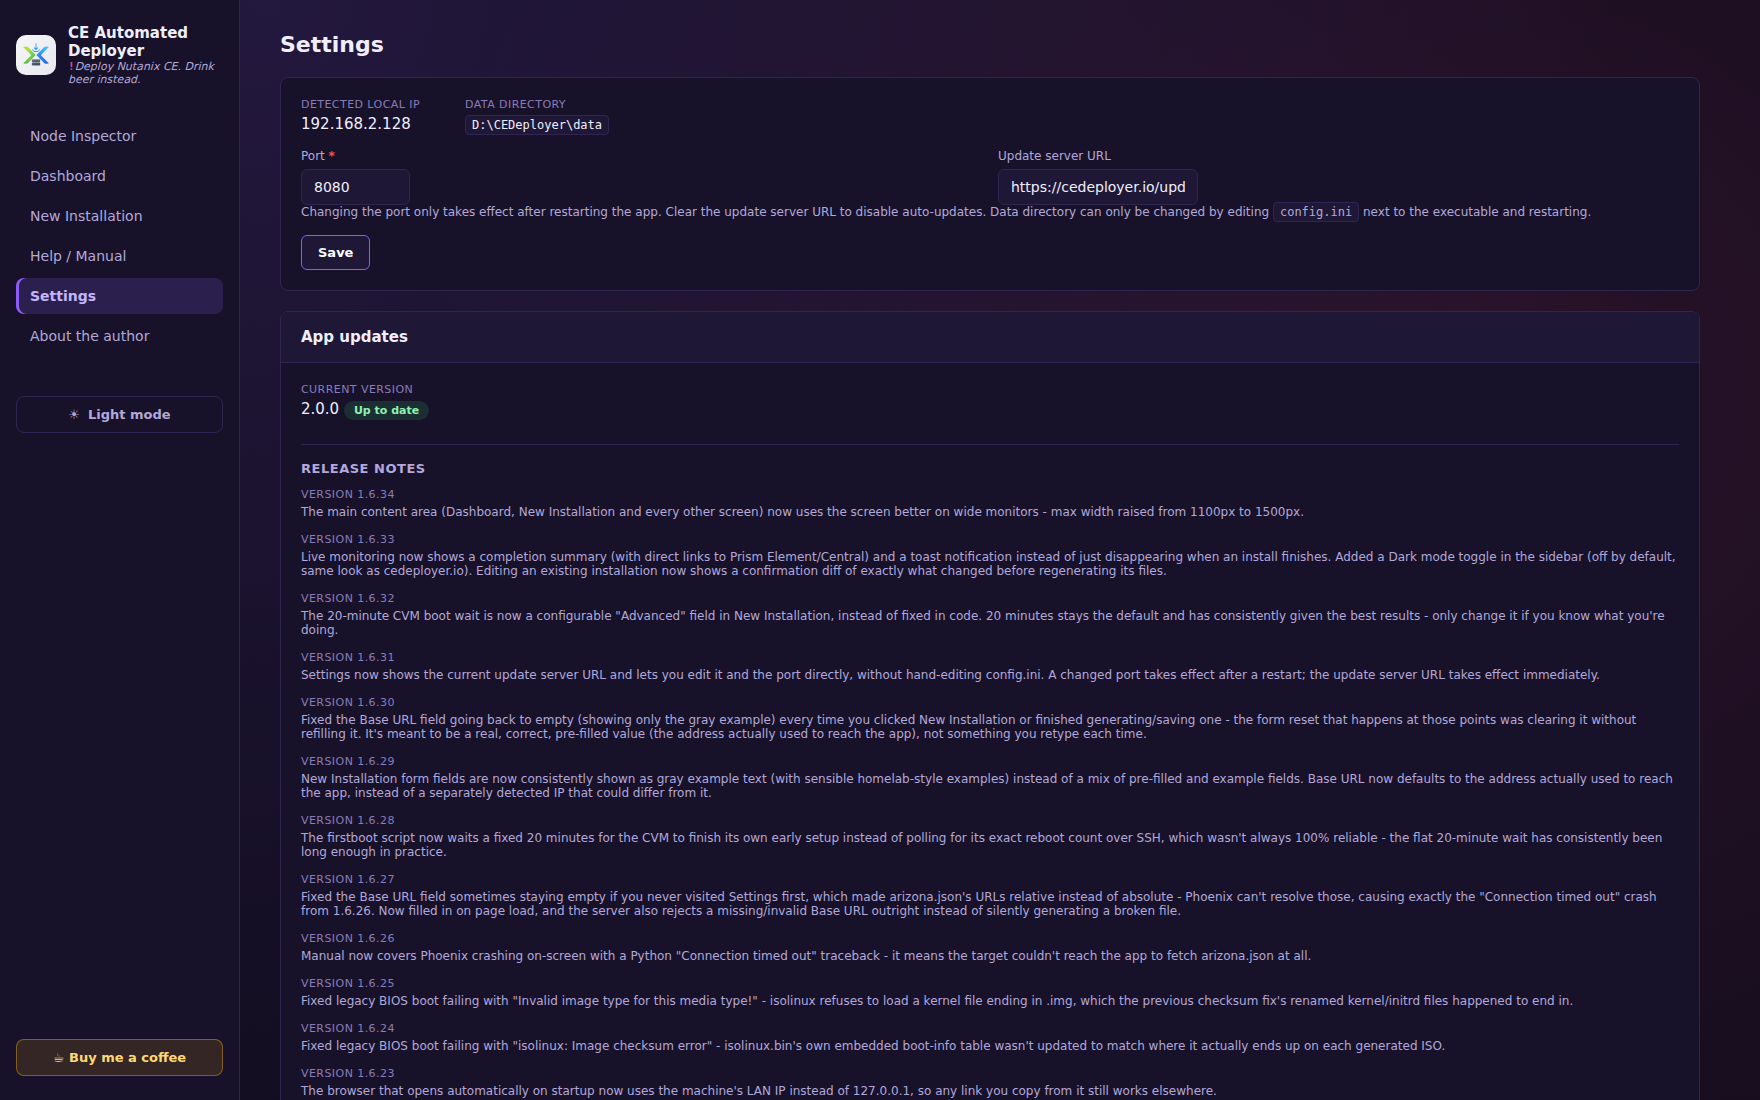
Currently on version 2.0.7.
Cleaned up two leftover login-screen "please wait" steps (cluster name/IP, NTP) that no longer did anything since that config now happens directly in cluster create - no functional change, just less noise in the log and on the login screen during install.
Cluster name and external IP are now set directly via cluster create's own flags instead of a separate call afterwards - one less step in the critical path. Only the iSCSI Data Services IP (which has no create-time flag) still gets set afterwards, via ncli over SSH instead of a REST API call.
Cluster name/external IP/iSCSI Data Services IP are now set via ncli over SSH instead of a REST API call, which is more reliable right after cluster creation. The firstboot script now only deletes itself when every step actually succeeded - a partial failure leaves the script and its marker in place so it stays retryable instead of silently looking finished.
Fixed Intelligent Operations always failing to enable on a tiny (Xsmall) Prism Central deployment - Nutanix doesn't support it on that size at all, so it's now skipped automatically there instead of firing a request that was always going to fail.
The Prism Central login screen blurb now points to cedeployer.io instead of an old personal-site URL.